Automating Excellence: Setting Up CI/CD for Next.js SaaS Applications
To automate excellence in a Next.js Software-as-a-Service (SaaS) application, technical leaders must establish a secure, performant Continuous Integration and Continuous Deployment (CI/CD) pipeline using GitHub Actions to orchestrate static analysis, automated testing, compilation, and performance-budget auditing prior to programmatic deployment. By persisting package dependencies and frame-level compilation caches across isolated runner instances, teams eliminate manual deployment human errors and accelerate build speeds. Whether deploying to serverless edge platforms or managing containerized infrastructure, automated workflows establish a highly optimized, resilient path to production.
1. Automating Next.js CI/CD Workflows for SaaS Applications
Setting up a robust delivery pipeline requires segregating continuous integration from delivery environments. In modern software architectures, continuous integration acts as an automated quality gate. Every commit pushed to the source repository undergoes static checks, including syntactical linting, strict TypeScript type compilation, unit testing, and bundle weight analysis. This gate protects the main branch from uncompiled or broken logic, preserving environment stability across the entire development team.
Next.js 16 has established Turbopack as the default compiler engine for development and production compilation. This engine delivers compile speeds up to ten times faster than legacy Webpack compilers during fast refreshes, and significantly accelerates optimized production builds. Because Turbopack structures its operations using a localized module graph, automated pipelines must adapt to manage cache persistence across ephemeral runners to preserve these build speed improvements.
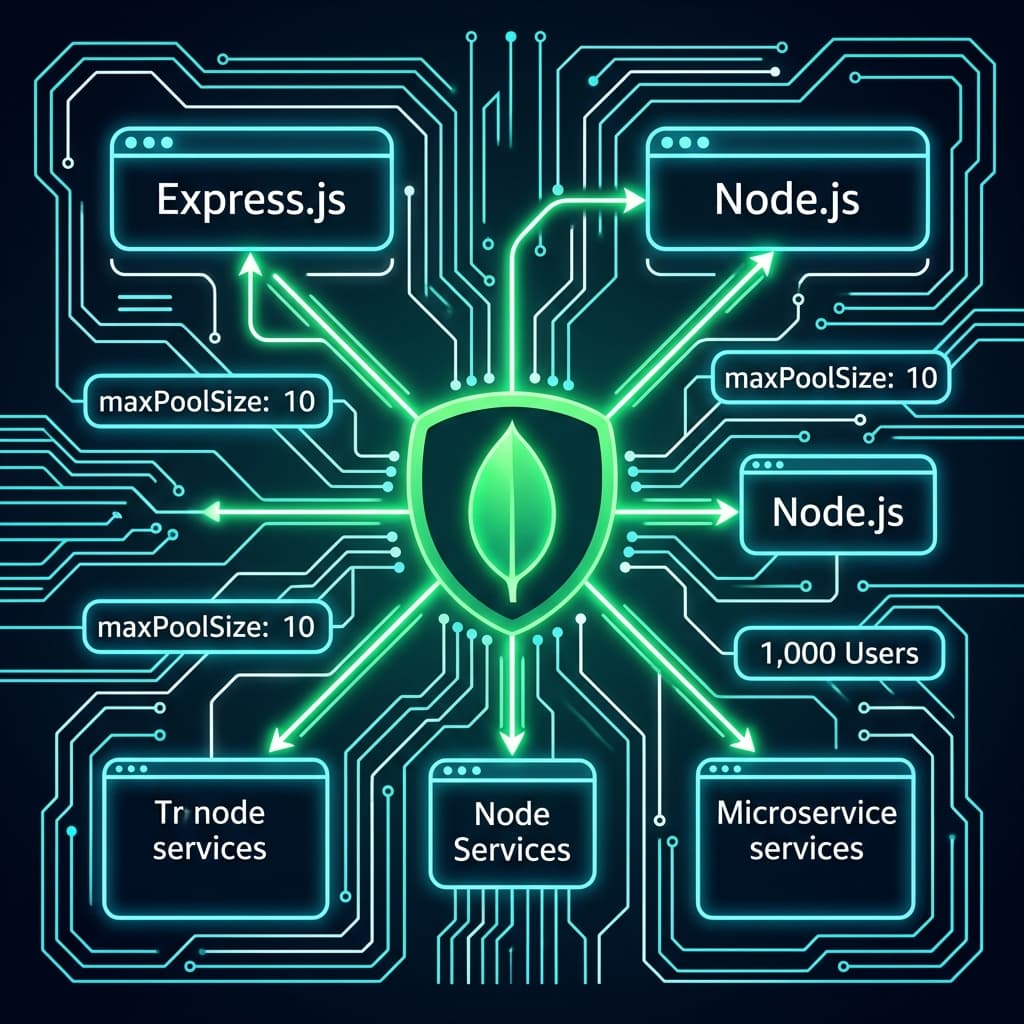
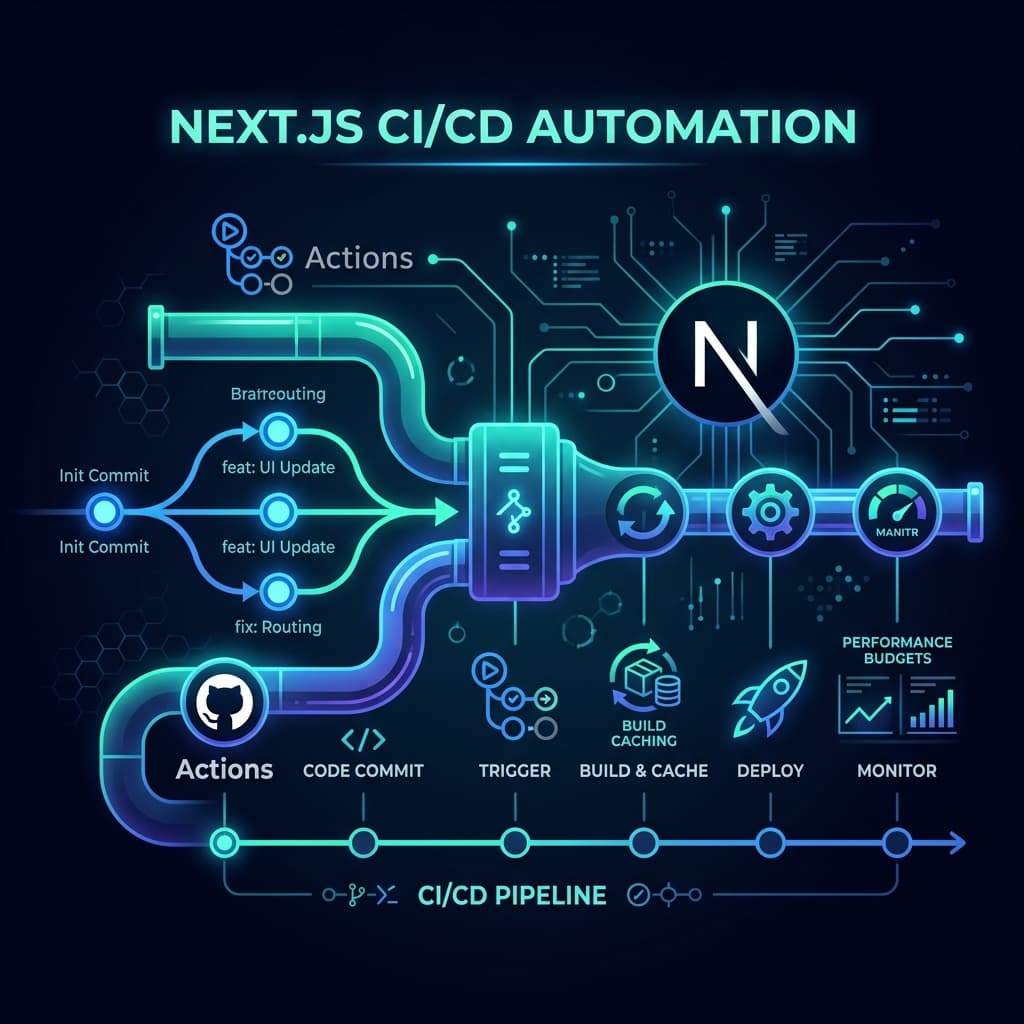
 Figure 1: Schematic flow of a Next.js automated pipeline, detailing parallel linting and testing, performance budget evaluation, build artifact caching, and multi-platform deployment targets.
2. Configuring Next.js Build Caching in GitHub Actions Pipelines
The execution bottleneck in cloud pipelines is often compilation. During the build step, Next.js generates static routes, compiles server-side logic, and optimizes layout assets. To avoid rebuilding unchanged components, the framework saves intermediate compilation structures inside the .next/cache directory.
In containerized runner environments like GitHub Actions, the virtual machine is destroyed upon job completion. This requires an explicit caching mechanism to persist the .next/cache folder across pipeline runs. Without it, the build engine defaults to a cold compilation cycle, generating a "No Cache Detected" warning and tripling build times.
Pipeline Cache Architectures Across Major Providers
Different CI providers use specific configurations to manage caching for the relative .next/cache directory and package manager stores:
| CI Provider | Configuration Strategy | Key Caching Target Paths | Reference Mechanism |
|---|---|---|---|
| GitHub Actions | Native action caching modules. | ~/.npm, .next/cache | actions/cache@v4 with lockfile hashes. |
| GitLab CI | Declarative pipeline cache mapping. | node_modules/, .next/cache/ | Cache keys with CI_COMMIT_REF_SLUG. |
| CircleCI | Deterministic restore/save steps. | ./node_modules, ./.next/cache | save_cache using lockfile checksums. |
| Azure Pipelines | Pipeline task integration. | .next/cache | Cache@2 task using lockfile keys. |
| Bitbucket Pipelines | Global workflow definitions. | .next/cache | Top-level definitions with custom keys. |
For teams utilizing GitHub Actions, the configuration below demonstrates a highly optimized, standard CI implementation. It enforces lockfile dependency verification, executes independent code quality checks, and persists package and compiler caches across pipeline runs.
name: Continuous Integration Quality Gate

on:
  push:
    branches: [ main, develop ]
  pull_request:
    branches: [ main ]

concurrency:
  group: ${{ github.workflow }}-${{ github.ref }}
  cancel-in-progress: true

jobs:
  validate-and-test:
    name: Code Quality & Test Validation
    runs-on: ubuntu-latest

    steps:
      - name: Checkout Source Code
        uses: actions/checkout@v4

      - name: Setup Node.js Runtime Environment
        uses: actions/setup-node@v4
        with:
          node-version: 20
          cache: 'npm' # Automates global npm registry cache persistence

      - name: Install Project Dependencies
        run: npm ci

      - name: Restore Next.js Build Cache
        uses: actions/cache@v4
        with:
          path: |
            ${{ github.workspace }}/.next/cache
          key: ${{ runner.os }}-nextjs-${{ hashFiles('**/package-lock.json') }}-${{ hashFiles('**/*.ts', '**/*.tsx', '**/*.js', '**/*.jsx') }}
          restore-keys: |
            ${{ runner.os }}-nextjs-${{ hashFiles('**/package-lock.json') }}-
            ${{ runner.os }}-nextjs-

      - name: Execute Static Linting
        run: npm run lint

      - name: Verify TypeScript Types
        run: npx tsc --noEmit

      - name: Execute Automated Test Suites
        run: npm run test -- --ci --coverage
This caching strategy uses a two-tier verification approach:
- Global Dependency Caching: The integrated
cache: 'npm'parameter inside theactions/setup-nodestep stores downloaded tarball binaries locally. This avoids repetitive network requests to the npm public registry, reducing dependency installation phases to seconds. - Incremental Compiler Caching: The
actions/cache@v4block targets the project's relative.next/cachedirectory. The cache key includes both lockfile and code-structure hashes, ensuring that minor code modifications only trigger partial, incremental compiles rather than full rebuilds.
3. Hardening Deployment Pipelines Against Software Supply Chain Attacks
Security is a primary concern for modern SaaS applications. As automated delivery pipelines handle sensitive access keys, production databases, and customer records, they become primary targets for software supply chain compromises. If a third-party pipeline action is updated with malicious code, unsecured runner permissions can allow unauthorized access to production environments.
Pinned Action Commits over Tag Versions
The standard approach of referencing actions by release tags (e.g., actions/checkout@v4) leaves pipelines vulnerable to tag spoofing or account takeovers. To mitigate this risk, security reviews recommend pinning third-party actions to their immutable 40-character SHA-1 commit hashes. This ensures that only the exact reviewed code runs on the build runner, protecting the pipeline against unauthorized code modifications.
Least-Privilege VPS Infrastructure Access
When deploying directly to a Virtual Private Server (VPS), securing the ssh-access boundary is critical. Using a root administrative account for automated deployments creates a single point of failure that can compromise the entire server.
Technical leaders can secure this boundary by implementing a least-privilege deployment flow:
- Dedicated Service Accounts: Create an isolated deploy user account on the VPS that does not have root privileges.
- Restricted Superuser Permissions: Limit the command authorizations for this service account inside
/etc/sudoers.d/deploy. It should only be allowed to restart the specific system processes required for deployment, without requiring password authentication. - SSH Key Scope Restrictions: Use the
authorized_keysconfiguration on the server to restrict the deploy key to running only the specific shell script required for deployment, blocking all other terminal commands.
# On the VPS: Restrict deploy user sudoers permissions to specific service operations
# File location: /etc/sudoers.d/deploy
deploy ALL=(ALL) NOPASSWD: /bin/systemctl restart nextjs-app, /bin/systemctl reload nginx
# On the VPS: Scope-restrict the deployment public key within the authorized keys file
# File location: /home/deploy/.ssh/authorized_keys
command="/home/deploy/deploy-script.sh",no-port-forwarding,no-X11-forwarding,no-agent-forwarding ssh-ed25519 AAAAC3NzaC1... github-actions-deploy
- Environment Isolation: Set up strict deployment environments in GitHub, requiring manual review gates and branch protection rules before production deployment keys can be accessed by the runner.
4. Enforcing Next.js Performance Budgets in CI/CD Environments
Performance regression is a common issue in rapid application development. Unchecked dependency expansion, duplicate packages, and oversized client-side modules often slip past code reviews, degrading loading metrics and user engagement. Because Next.js handles server-side rendering, bundle compilation sizes directly dictate browser performance, initial execution delays, and serverless cold-start latencies.
To counter this development creep, engineering teams set performance budgets directly in the automated pipeline. These automated checks halt the deployment of any pull request that exceeds a pre-established bundle limit.
Establishing Performance Budgets
To manage performance budgets effectively, startups divide their validation metrics into three categories:
| Budget Category | Focus Area | Metrics Measured | CI Enforcement Layer |
|---|---|---|---|
| Byte Budgets | Asset size & compile weight. | JavaScript bundle size, raw image weights. | size-limit |
| Quantity Budgets | Asset counts & request volume. | Total HTTP requests, external scripts. | Lighthouse CI (Previews) |
| Timing Metrics | User experience & loading. | LCP, INP, CLS benchmarks. | Lighthouse CI (Staging) |
For byte-level validation, startups should establish bundle standards based on gzipped file sizes:
| Quality Level | Bundle Weight | Mobile Impact | Action Plan |
|---|---|---|---|
| Excellent | Under 170 kB | Instant interactivity on slow mobile networks. | Auto-approve and deploy. |
| Good | 170 kB – 240 kB | Minor processing latency on 4G networks. | Accept build; log variance. |
| Acceptable | 240 kB – 370 kB | Delayed response metrics on average devices. | Flag pull request; review. |
| Poor | Over 370 kB | High page bounce rate; slow execution. | Fail pipeline; block merge. |
Optimizing Bundle Budgets with Size Limits
To implement these checks, developers use utilities like size-limit. This tool runs a local compilation, minifies the assets, and compresses them to calculate the real-world download weight for users.
{
  "name": "nextjs-saas-platform",
  "version": "1.0.0",
  "private": true,
  "scripts": {
    "dev": "next dev",
    "build": "next build",
    "size": "size-limit"
  },
  "devDependencies": {
    "size-limit": "^11.0.0",
    "@size-limit/preset-app": "^11.0.0"
  },
  "size-limit": [
    {
      "path": ".next/static/chunks/main-*.js",
      "limit": "150 kB"
    },
    {
      "path": ".next/static/chunks/app/**/page-*.js",
      "limit": "100 kB"
    }
  ]
}
The configuration below integrates this step into the GitHub Actions flow. It runs on every pull request, executing a production build and running size-limit checks. If any compiled file exceeds the thresholds set above, the step fails, preventing the deployment of bloated code.
name: Performance Budget Guard

on:
  pull_request:
    branches: [ main, develop ]

jobs:
  bundle-audit:
    name: Validate Bundle Limits
    runs-on: ubuntu-latest

    steps:
      - name: Checkout Source Code
        uses: actions/checkout@v4

      - name: Setup Node.js Environment
        uses: actions/setup-node@v4
        with:
          node-version: 20
          cache: 'npm'

      - name: Install Project Dependencies
        run: npm ci

      - name: Generate Production Build
        run: npm run build
        env:
          NEXT_TELEMETRY_DISABLED: 1

      - name: Audit Compilation Weight
        uses: andresz1/size-limit-action@v2
        with:
          github_token: ${{ secrets.GITHUB_TOKEN }}
          skip_step: install
Optimizing Next.js Bundle Sizes with Turbopack and Webpack Analyzers
To address size regressions, developer portfolios should showcase how to debug client-side dependencies. The diagnostic approach depends on the project's active compiler:
- Turbopack Analyzer (Next.js 16.1+): The modern compiler engine includes a built-in analyzer run via
next experimental-analyze. It integrates with Turbopack's module graph to perform precise import tracing, server/client boundary evaluation, and CSS analysis. - Webpack Analyzer (Legacy): Legacy systems rely on
@next/bundle-analyzer. However, configuring this plugin under Turbopack throws Webpack-related compilation warnings. If a team is still using Webpack, they can run the analyzer conditionally by checking the environment variables in their configuration.
// next.config.js
// Fallback Webpack module analysis pattern
const withBundleAnalyzer = require('@next/bundle-analyzer')({
  enabled: process.env.ANALYZE === 'true',
});

const nextConfig = {
  reactStrictMode: true,
  // Other standard configurations
};

module.exports = process.env.ANALYZE === 'true'
  ? withBundleAnalyzer(nextConfig)
  : nextConfig;
Common optimizations to keep client-side bundles light include:
- Alternative Library Packages: Replacing heavy dependencies like
moment(60+ kB) with lightweight, tree-shakeable alternatives such asdayjs(2 kB) ordate-fns(13 kB). - Isolated Client Boundaries: Moving validation libraries like
zodto server-side entrypoints unless they are explicitly required for client-side forms, minimizing the JavaScript loaded by the browser. - Selective Package Imports: Using
optimizePackageImportsinnext.config.jsto ensure the compiler only loads the specific modules used, keeping the final bundle small.
5. Mitigating Server Action Payload and Response Limits
A common issue in modern Next.js SaaS applications is hitting frame-level runtime limits. These limits are put in place by the framework to ensure security and performance, but they can occasionally block standard application workflows.
Managing the Server Action Payload Cap
By default, Next.js sets a 1MB limit on Server Action payloads to protect hosting servers from memory issues and denial-of-service (DoS) attacks. If an application tries to send a payload larger than this—such as an image or an audio file—it will trigger an HTTP 413 "Body Exceeded 1MB Limit" error.
To resolve this, developers can increase the payload limit inside next.config.js by configuring the bodySizeLimit parameter:
// next.config.js
/** @type {import('next').NextConfig} */
const nextConfig = {
  experimental: {
    serverActions: {
      bodySizeLimit: '10mb', // Adjusts limit to accommodate standard media uploads
    },
  },
};

module.exports = nextConfig;
While raising this limit works for small adjustments, doing so globally can make the server vulnerable to resource exploitation. For massive uploads, such as video or audio files, the recommended approach is to bypass the application server entirely:
- Presigned Cloud Uploads: The client requests a presigned URL from the server and uploads the file directly to cloud storage (such as AWS S3 or OCI Object Storage).
- Client-Side Data Chunking: Large data collections are split into smaller chunks on the client side, sent as multiple sequential requests, and reassembled on the server.
Managing API Route Response Limits
A similar 4MB limit applies to Next.js API route responses. This limit ensures that API routes remain fast and are not used to transmit massive amounts of raw data. If an API route tries to send a response larger than 4MB, it will trigger an error.
If the application is not running in a serverless environment and is optimized to handle larger payloads, this limit can be adjusted or disabled entirely within the specific route configuration:
// pages/api/export-data.js
// Custom configuration to raise the API response limit
export const config = {
  api: {
    responseLimit: '10mb', // Can also be set to false to disable the limit entirely
  },
};

export default function handler(req, res) {
  // Processes and returns larger data payloads
  res.status(200).json({ data: "Target payload content" });
}
6. Evaluating Vercel vs. Self-Hosted Coolify Cost Structures
A key decision for SaaS founders and technical leaders is choosing the hosting infrastructure for their Next.js application. While Vercel provides a seamless, zero-configuration development ecosystem with automated preview deployments and global edge distribution, its usage-based pricing can scale rapidly as the business grows. This dynamic has popularized alternative self-hosting strategies, utilizing virtual private servers (VPS) managed via lightweight platform-as-a-service (PaaS) tools like Coolify or Railway.
 Figure 2: Projections comparing Vercel usage scaling vs. flat-rate self-hosted VPS environments, illustrating the inflection point where self-hosting becomes cost-effective.
Comparative Resource Cost Breakdown
The table below models the estimated monthly costs for a growing SaaS application with 3 developers, 500,000 monthly visitors, 1.5 TB of bandwidth, and standard image and build requirements:
| Cost Component | Vercel Pro Tier Pricing | Self-Hosted VPS (Coolify on Hetzner) | Managed Containers (Railway) |
|---|---|---|---|
| Base Plan Seats | $60.00 (3 developers at $20/seat) | $0.00 (Coolify is open-source and free) | $60.00 (3 seats at $20/seat) |
| Bandwidth Allocation | $75.00 (1 TB included; $40 per 100 GB overage) | $0.00 (VPS plans typically include 20 TB) | $140.00 (100 GB included; $0.10 per GB overage) |
| Serverless Invocations | $180.00 (2,000 GB-hours computed) | $0.00 (Always-on compute; no limit) | $55.00 (Flat resource compute usage) |
| Image Optimization | $225.00 (50,000 dynamic transformations) | $0.00 (Processed locally via server memory) | $0.00 (Processed inside container instances) |
| Build Run Minutes | $60.00 (Overage minutes compiled) | $0.00 (Builds run on the VPS / GitHub) | $0.00 (Included in base resource fees) |
| Estimated Monthly Total | $600.00 / Month | $16.99 - $89.99 / Month | $255.00 / Month |
The "Vercel Tax" and the Cost of Growth
While Vercel's free tier is an excellent choice for side projects and early validations, growing teams often face unexpected expenses:
- Overage Fees: Once an application exceeds the limits of the Pro plan, fees for bandwidth, serverless execution times, and image optimization accumulate quickly.
- Team Seat Pricing: Vercel Pro is billed per user, meaning base costs scale with the size of the development team regardless of traffic.
- Resource Compounding: Running multiple projects under a single plan shares the resource pool, which can trigger overage charges much faster.
Calculating the Total Cost of Ownership (TCO)
While self-hosting offers clear infrastructure savings, technical leaders must also consider operational overhead. The cost equation should factor in the engineering time required to configure and maintain the hosting setup:
If a startup's engineering team spends several hours each month managing updates, configuring SSL certificates, or troubleshooting server environments, those hours represent an operational cost. For lean teams, paying a premium for a fully managed platform can be more cost-effective to keep developers focused on product features.
Server Capacity Planning for Self-Hosting
Next.js production builds are resource-intensive. Peak memory usage during compilation typically runs between 1.5 GB and 3 GB of RAM, depending on bundle sizes and the routing model. Startups planning their VPS resources can use these benchmarks:
- 2 GB RAM: The absolute minimum required to compile and host small static sites.
- 4 GB RAM: The realistic baseline for standard applications running active client databases.
- 8 GB RAM: The recommended setup when running Next.js alongside databases (e.g., PostgreSQL) and caching layers (e.g., Redis) on the same machine.
Transitioning to a Self-Hosted Architecture
To move a Next.js application from Vercel to a self-hosted VPS, developers follow a structured transition process:
- Remove Platform Integrations: Remove Vercel-specific packages (such as
@vercel/analyticsor@vercel/og) to avoid build failures on standard environments. - Configure Standalone Output: Update
next.config.jsto setoutput: 'standalone'. This tells the compiler to generate only the essential files and dependencies needed for production, reducing the final image size. - Set Up Local Environments: Run
npm run build && npm run startlocally to verify the application compiles and runs correctly outside the managed environment. - Deploy the PaaS Layer: Install Coolify on the target VPS, connect the Git repository, and point DNS records to the server's IP address.
7. Orchestrating Headless Next.js Production Deployments with Vercel CLI
For organizations that choose Vercel but want more control over their release criteria, relying on Vercel's automated Git integration can be limiting. By default, Vercel deploys every pushed commit immediately, regardless of whether it passes automated tests or static analysis.
To solve this, developers can disable Vercel's automatic Git triggers and handle deployments programmatically via the Vercel CLI. This ensures that deployments only trigger after all CI quality checks, automated test suites, and performance budgets have passed on the GitHub runner.
name: Programmatic Production Deployment

on:
  push:
    branches:
      - main

env:
  VERCEL_ORG_ID: ${{ secrets.VERCEL_ORG_ID }}
  VERCEL_PROJECT_ID: ${{ secrets.VERCEL_PROJECT_ID }}
  VERCEL_TOKEN: ${{ secrets.VERCEL_TOKEN }}

jobs:
  validate-and-deploy:
    name: Production Release
    runs-on: ubuntu-latest

    steps:
      - name: Checkout Source Code
        uses: actions/checkout@v4

      - name: Setup Node.js Environment
        uses: actions/setup-node@v4
        with:
          node-version: 20
          cache: 'npm'

      - name: Install Project Dependencies
        run: npm ci

      - name: Execute Code Quality Gates
        run: |
          npm run lint
          npx tsc --noEmit
          npm run test -- --ci

      - name: Install Vercel CLI Globally
        run: npm install --global vercel@latest

      - name: Pull Vercel Environment Configuration
        run: vercel pull --yes --environment=production --token=${{ secrets.VERCEL_TOKEN }}

      - name: Compile Production Build Artifacts
        run: vercel build --prod --token=${{ secrets.VERCEL_TOKEN }}

      - name: Upload Build Artifacts to Vercel CDN
        run: vercel deploy --prebuilt --prod --token=${{ secrets.VERCEL_TOKEN }}
This configuration provides several operational advantages:
- Prebuilt Compilation: Running
vercel build --prodon the GitHub runner compile files locally and output them to.vercel/output. The final deployment step simply uploads these prebuilt assets to Vercel, bypassing the platform's servers and saving build minutes. - Release Consistency: Because the deployment files are generated entirely on the runner after passing all verification steps, the risk of deploying broken code is minimized.
Designing Preview Environments: Vercel vs. Coolify
A key feature of modern SaaS workflows is preview deployments, which generate isolated testing environments for every active pull request.
- Vercel Previews: Excellent for frontend-only testing. The platform generates a unique preview URL for every pull request, but these environments struggle to connect to dynamic backend services or isolated databases.
- Coolify Previews: Better suited for full-stack applications. Coolify uses Docker-based deployment containers, allowing it to spin up isolated, multi-service testing environments (including dedicated databases, Redis caches, and API workers) for each branch. These environments are automatically generated when a pull request opens and torn down when it closes, keeping resource usage efficient.
8. Actionable Strategic Recommendations for Startup CTOs
Deciding on infrastructure and pipeline configurations is a balance between developer speed and operational costs. Technical leaders can guide their planning using these recommendations:
- Implement Robust Validation Gates Early: Startups should configure automated linting, type-checking, and unit-testing workflows before their first public release. Setting up automated workflows takes only a few hours but prevents technical debt and deployment errors, saving significant time during rapid feature iteration.
- Use Performance Budgets as Quality Safeguards: Relying on developers to manually monitor bundle sizes is inconsistent. Integrating automated size limits into the CI pipeline ensures performance budgets are maintained systematically. This approach prevents performance issues from reaching production, keeping Core Web Vitals optimized and protecting search engine visibility.
- Match Hosting Choices to Product Lifecycle Stages: Startups can optimize their infrastructure selection by matching their hosting provider to their current growth phase:
- Validation Phase (Pre-Seed): Host on Vercel. The platform's developer experience, automated preview URLs, and serverless architecture allow small teams to ship features quickly without DevOps overhead.
- Scaling Phase (Seed to Growth): Keep track of bandwidth, seat pricing, and overage metrics. If hosting costs scale rapidly, evaluate a migration to self-hosted PaaS solutions like Coolify on specialized cloud providers (Hetzner, DanubeData). This transition can reduce hosting bills by up to 90% while keeping deployment workflows simple.